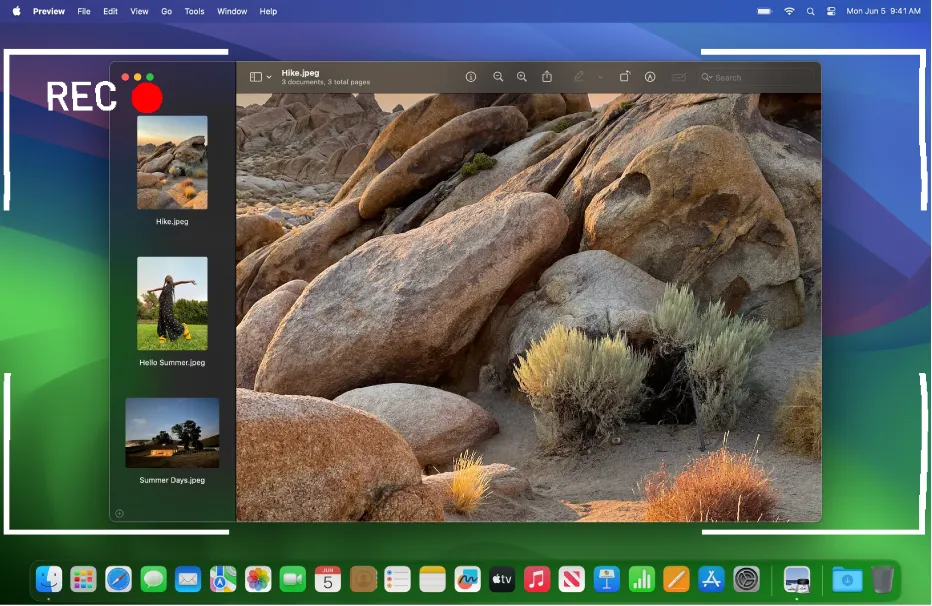
Whether you're creating engaging tutorials, capturing presentations, or recording gameplay, screen recording with audio on a Mac can significantly enhance your content. With the right tools and techniques, you can produce professional-quality videos that effectively communicate your message. This guide will walk you through the essentials of screen recording on Mac, including how to capture both video and audio seamlessly.
Why Screen Record with Audio on Mac?
Screen recording with audio is crucial for creating comprehensive and engaging content. Here’s why:
- Enhanced Communication: Combining video with audio allows you to explain complex topics clearly, making your content more informative and accessible.
- Effective Training: Tutorials and training materials are more effective when they include verbal instructions along with visual demonstrations.·
- Interactive Content: Adding narration or commentary to your recordings helps engage viewers and keeps their attention focused.
Prepare Your Screen
- Clean Up: Close unnecessary applications and clean your desktop to avoid distractions.
- Adjust Settings: Set up the applications or content you want to record, ensuring everything is ready for capture.
Set Up Audio Recording
- Choose Input Source: Select whether you want to capture system audio, microphone input, or both. Ensure your microphone is properly connected and configured.
- Test Audio Levels: Make a test recording to check audio levels and clarity, adjusting settings as needed.
Start Recording
- Launch Software: Open your chosen screen recording software and configure recording settings (resolution, frame rate, etc.).
- Begin Capture: Start recording and follow your script or outline. Speak clearly and at a steady pace.
Edit and Enhance
- Trim and Cut: Use editing tools to remove any unnecessary parts and improve the flow of your video.
- Add Annotations: Incorporate text, arrows, or highlights to emphasize key points.
- Adjust Audio: Ensure audio levels are balanced and clear. Add background music or sound effects if desired.
Save and Share
- Export Settings: Choose the appropriate file format and resolution for your needs (e.g., MP4 for web sharing).
- Upload or Share: Share your video directly to platforms like YouTube or Vimeo, or upload it to your preferred cloud storage service.
Tips for High-Quality Screen Recording on Mac
- Practice: Familiarize yourself with the software and practice recording to get comfortable with the process.
- Use a Good Microphone: Invest in a high-quality microphone for clear and professional audio.
- Monitor Your Recording: Keep an eye on recording indicators to ensure everything is being captured as expected.
- Edit Thoughtfully: Focus on clarity and engagement during editing to produce a polished final product.
Conclusion
Screen recording on Mac with audio is a powerful way to create engaging and informative content. By selecting the right software and following these tips, you can produce high-quality recordings that effectively communicate your message. Whether you’re recording tutorials, presentations, or gameplay, mastering screen recording will enhance your content creation process and boost your productivity.


