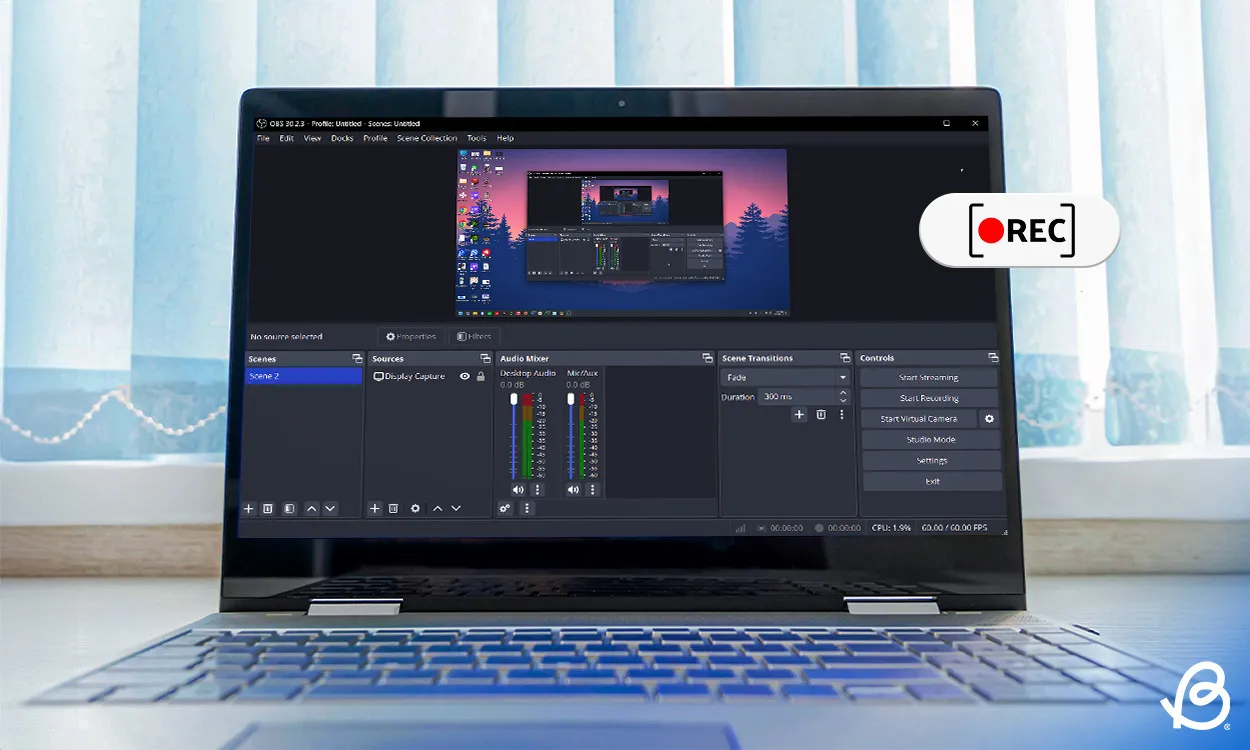
Screen recording is an invaluable tool for creating tutorials, presentations, and content demonstrations. On Windows 10 and Windows 11, capturing video with audio can greatly enhance the quality and effectiveness of your recordings. This guide will walk you through the essentials of screen recording on Windows, including how to capture both video and audio seamlessly.
Why Record Screen & Audio on Windows?
Recording your screen with audio is beneficial for various purposes:
- Enhanced Tutorials: Combine visual instructions with verbal explanations for clearer, more engaging tutorials.
- Professional Presentations: Record and share presentations with integrated voiceovers to reach a wider audience.
- Troubleshooting and Support: Document software issues or provide support with detailed visual and audio explanations.·
- Content Creation: Create high-quality content for educational, marketing, or entertainment purposes.
Prepare Your Screen
- Clean Up: Close unnecessary programs and clean your desktop to avoid distractions.
- Set Up Content: Prepare the application or content you want to record, ensuring everything is ready.
Configure Audio Settings
- Choose Audio Sources: Select whether to record system audio, microphone input, or both. Ensure your microphone is set up and configured correctly.
- Test Audio Levels: Make a test recording to check audio clarity and levels, adjusting settings as needed.
Start Recording
- Open Software: Launch your chosen screen recording software and configure your settings (resolution, frame rate, audio input).
- Begin Recording: Start the recording and follow your planned script or outline. Speak clearly and maintain a steady pace
Edit Your Recording
- Trim and Cut: Use editing tools to remove any unnecessary sections and improve the flow.
- Add Annotations: Incorporate text, highlights, or arrows to emphasize key points.
- Adjust Audio: Ensure audio levels are balanced and clear. Add any background music or sound effects if desired.
Save and Share
- Export Options: Choose the appropriate file format and resolution based on your sharing needs (e.g., MP4 for web sharing).
- Share Your Video: Upload to platforms like YouTube or Vimeo, or save to cloud storage for easy access and sharing.
Tips for High-Quality Screen Recording on Windows
- Practice Your Script: Rehearse your narration to ensure it’s clear and engaging.·
- Monitor Your Recording: Keep an eye on recording indicators to ensure everything is being captured properly.
- Invest in a Good Microphone: Use a high-quality microphone for clear and professional audio.
- Edit Thoughtfully: Focus on enhancing clarity and engagement during the editing process.
Conclusion
Screen recording on Windows 10 and Windows 11 with audio offers a powerful way to create high-quality content. By choosing the right software, configuring settings properly, and following best practices, you can produce effective and engaging videos for various purposes. Start recording today to enhance your content creation and communication!


